Some Ideas on Buyer's Guide to Laminate Countertops for Kitchens and You Should Know


Dimensions Laminate Countertop - VT Industries
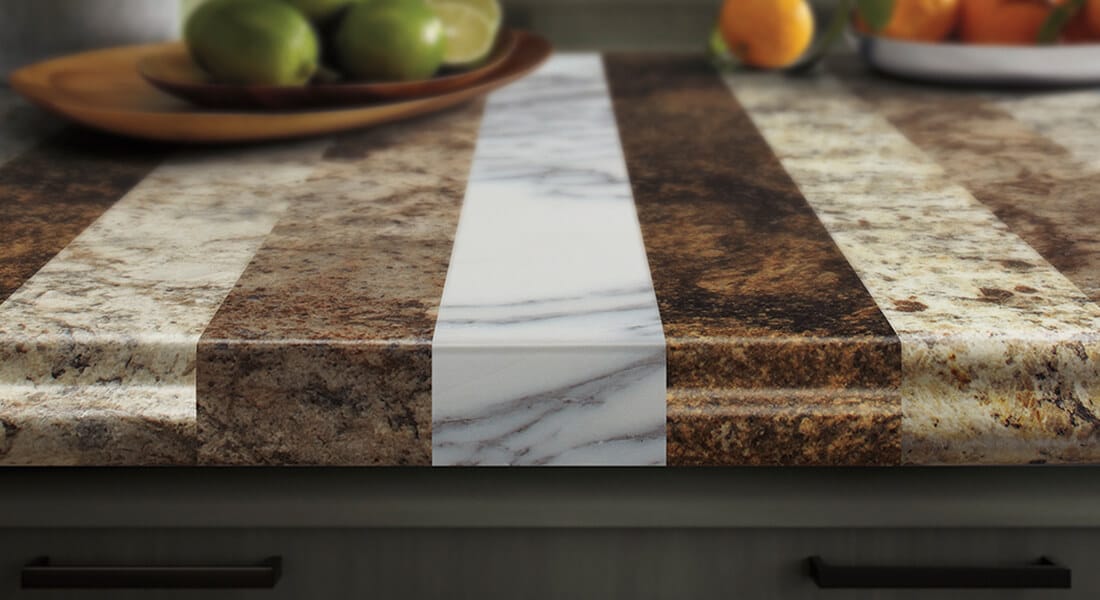
Everything about Laminate counters look a lot better than they did in the '80s
Beginning with the correct substrate creates an excellent structure for the counter top. Particleboard has a uniform, clear surface area ideal for accepting the contact cement and leaving a smooth finish. Sadly, it does not come any thicker than 34 inch, which isn't enough for a countertop. You'll need to double up at the edges to develop a 1-inch face and raise the counter greater.
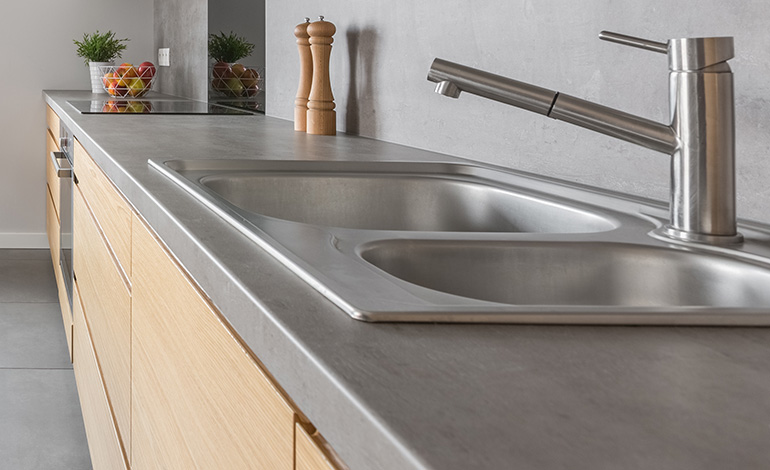
Why We Chose (& Love) Our Formica Countertops — Elizabeth Burns Design, Raleigh NC Interior Designer
Nevertheless, he makes certain to paint the underside of any counter that will sit over a dishwasher, cleaning device, or dryer with a thick coat of guide to protect against moisture. Pasting the laminate to the particleboard is the trickiest part of developing a counter. 2 surfaces coated with contact cement bond the moment they touch.

" Since once it's stuck, it's stuck." Separating the two surface areas with dowels will provide you the opportunity to line everything up prior to you adhere the parts. There's a sequence to the way you laminate any counter in order to hide visible edges. The side edges go on first, then the front edge, and finally the top.
7 authentic vintage countertop laminate designs still available - The Facts
Matching laminate edges is very hard, which is also why you must prepare for as couple of joints as possible; if they are required (just like an L-shaped surface area, like the one shown here), your best option is to laminate 2 pieces individually, then join them. You can likewise pick to make a backsplash piece, which attaches to the back of the counter before you install the entire piece to the cabinets or the wall.
Cut 4-inch strips of particleboard to line the underside of each edge. Glue and screw Did you see this? to the sheet with 1-inch screws. Ensure the edges are perfectly flush. If you will be linking two counter top areas, size and set up the strips on one piece to extend beyond the end of the sheet and fit under the adjacent piece (see overview).
Dry-fit the counter top areas prior to laminating them, and ensure pieces fit firmly. Sand the seam with 100-grit paper to fix any mismatches. To make an actually tight joint between two particleboard pieces, back-cut the end of one piece by tilting your circular saw blade to 5 degrees. Cut the laminate Carefully unroll the laminate and lay it on a flat surface area, faceup.